
I’ve been asked a lot about how I plan my anime patchwork tattoos. This is a complicated process, but it’s something that can be planned and organized so that you don’t end up with an inked-up disaster.
First of all, I want to emphasize that this isn’t something you should try to plan yourself. Unless you have a very specific idea in mind for the arrangement of your tattoo, or unless you’re planning to get one done by me, there’s no way you can know what will look best on your arm. That said, here are some things that I think are important to consider when planning an anime patchwork tattoo.
1. Meaningful Memory Determines Motif
The most important thing when planning an anime patchwork tattoo is to make sure that each piece has meaning. The more meaningful the memory, the more importance you’ll place on that particular piece. And if that piece is more important than others, then it needs to be larger, bolder, and placed more prominently.
So first, you need to determine which parts of the story matter most. Then you need to decide whether you want to focus on expressions (portraits), interactions (cropped panels), or references through objects (symbolic references). Each of these types of motifs requires different considerations.
Portraits center around an expression. You’ll want to choose a character who has a strong expression that defines their personality. This might mean choosing a character who wears heavy makeup or has distinctive facial features. But if you want to keep the focus on expression rather than face, you could also choose a character whose expression is the most telling aspect of their personality.
Cropped panels preserve an interaction between two characters. These pieces tend to be smaller and simpler than portraits, but they still require consideration regarding placement and scale. For example, if you want to highlight a confrontation between two characters, you might choose a scene where their faces are partially visible, but their bodies are fully exposed. If you want to highlight a moment of affection, you might choose a scene where their hands are touching, but their faces are not visible.
Symbolic references carry the reference through an object. These could include weapons, flowers, food, or locations. When selecting symbolic references, you’ll want to choose objects that clearly represent the concept you want to convey. For example, if you want to express strength, you might select a sword. If you want to express love, you might select a rose.
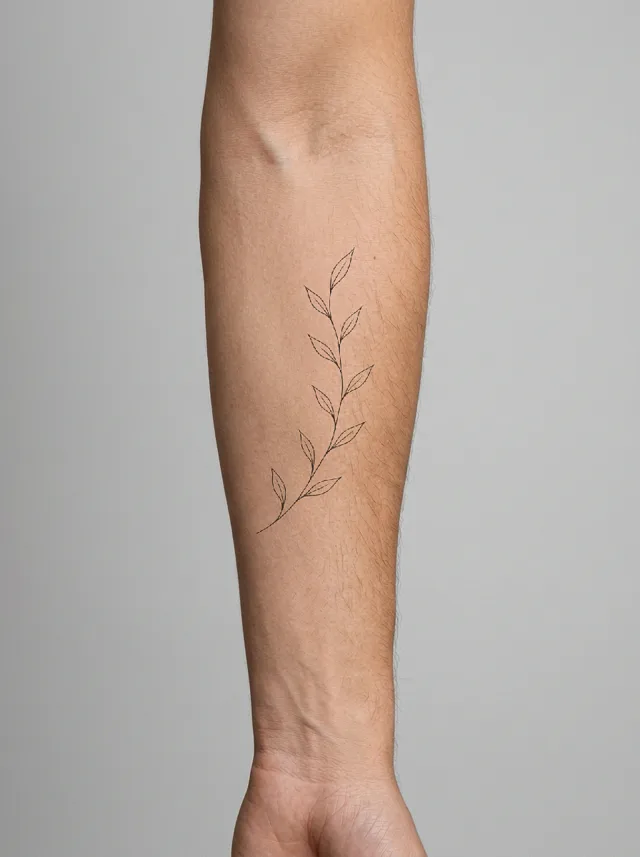
 Clean design
2. Shared Visual Language Between Mixed Anime References
When mixing different anime series into one collection, you’ll want to ensure that they share a common visual language. This means using similar line weights and scales, consistent spacing, and repeated shapes. They should also share related subjects or restrained filler. In addition, you’ll want to maintain consistency across different artists and styles. Color is especially important for palette-dependent memories, while black and grey are better suited for expression or ink contrast.
3. Resolving Detail Competing at Proposed Scale
When working at the proposed scale, details like facial marks, hatching, dialogue, and background texture compete for attention. It’s important to simplify before adding detail. Start by identifying the strongest recognizable features of the character, such as their face, hand, gesture, or confrontation. Once those are identified, simplify the rest of the image. Simplify dialogue, borders, and backgrounds. Keep the expression, interaction, or intended meaning intact.
You’ll also need to assess individual sizing. Some characters are simply too large for certain areas, and some characters are too small for other areas. Line count, focal feature, placement, technique, and simplification tolerance all play a role in determining the appropriate size for a character. Finally, you’ll want to examine examples of healed Anime or Manga tattoos at comparable scale and rendering style.
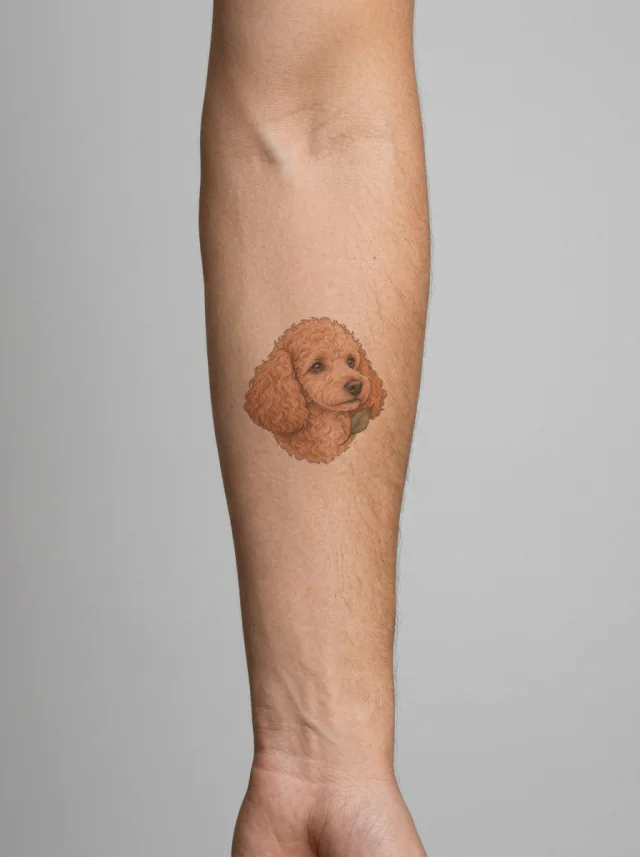
 Clean design
4. Larger Focal Pieces Around Smaller Supporting Pieces
If you’re arranging multiple pieces on your arm, it’s best to start with the largest focal pieces and build outward from there. Choose a location on your arm that allows you to display your work without being too cramped. Outer bicep, outer forearm, or flatter inner forearm are possible focal locations. Once the focal pieces are in place, add supporting pieces between them. Be careful to allow space for growth. Don’t crowd your design so much that you have nowhere to go.
5. Intentional Open Skin Preserves Room to Rebalance
It’s always good to leave intentional open skin near the elbow, wrist, and major anchors so that your collection doesn’t immediately feel unbalanced. It’s also good to retain appealing gaps beyond the first appointment so that you have room to rebalance as new pieces change the balance of dark and light.
6. Assemble an Artist Consultation Brief
Finally, assemble an artist consultation brief that communicates the meaning behind your tattoos, your placement priorities, and the flexibility you’re willing to show. Annotated source references help communicate meaning. Relaxing front, side, and back arm photos help communicate placement priorities. Printed photos or tablet annotations help communicate design exclusions.
An artist consultation brief should contain the following:
Source references annotated with meaningful expression, object, or moment
Relaxed front, side, and back arm photos
Printed photos or tablet annotations
Rough shapes for existing and proposed tattoos
Subject, approximate scale, preferred style, and essential or optional status
Portrait, cropped panel, symbolic reference, original character, or collection
Color Anime, black-and-grey Manga, or deliberate combination
Body area, approximate dimensions, and composition direction
One expression, silhouette, object, or gesture
Design exclusions
Screenshots redrawn for scale, placement, anatomy, and the artist’s process
Generated concepts as discussion references