
I’m currently working on a new tattoo design, and it’s actually a piece I’ve had in the works since March. It’s a Michael angel, and I’ve been trying to get the details just right.
Traditional Imagery and Personal Meaning
Michael is one of my favorite saints, so this has been fun for me to work on. However, it’s also a challenge because there are so many different interpretations of him out there. There’s his battle imagery (which includes wings, armor, swords, etc.), but then there’s also his depiction with scales weighing souls at the last judgement.
There’s even some artwork that combines both images — like Carlo Crivelli’s Saint Michael. In that painting, he’s depicted with raised sword and feathered wings, and beneath his feet is a defeated devil. But if you look closely at the bottom of the painting, you can see scales weighing souls at the last judgement. That makes me think of the Book of Revelation, which is where most of the battle imagery comes from.
Of course, there’s also the famous painting by Raphael Sanzio, The School of Athens, which depicts Plato holding Timaeus and pointing toward heaven. And then there’s the painting by Bartolomé Bermejo, which depicts Saint Michael defeating the devil. Crivelli’s and Bermejo’s paintings give us all sorts of different ideas about what Michael should look like. But again, both draw on religious narratives.
And then we have the personal interpretations. For example, here’s a photo caption from Cesar Perez:
“Saint Michael the Archangel represents protection, strength, justice, and the battle between good and evil. He stands for fighting through darkness, staying disciplined in faith, and never backing down when life tests you. This piece connects deeply with where I’m at in my life right now. Going through a divorce. Facing serious medical issues.”
So when designing a Michael angel, you need to decide whether you want to go with the traditional battle imagery, or if you want to add your own personal meaning to the subject.
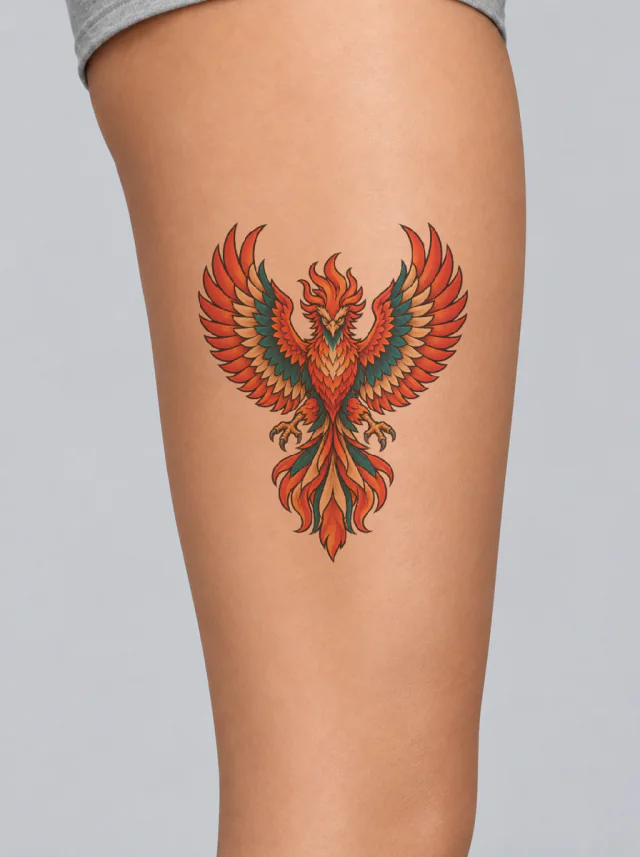
 Clean design
Choosing the Amount of Detail
In addition to deciding how much imagery to include, you also need to consider how much detail you want. If you’re going with a full scene depicting a battle, then you’ll need a lot of detail. You’ll need to preserve the adversary and the narrative. But if you’re going with a reduced warrior figure, then you can leave the rest of the identifying elements up to the artist’s assessment.
The first thing to determine is how big of an opening you have available within your existing patchwork collection. Here’s how I’d start looking at the space.
You’ll want to measure the height and width of the opening. Then, using those measurements, you’ll want to draw a rough sketch of how the pose would fit into the space. The same goes for the wing spread. Finally, check the direction of the weapon. Make sure that the surrounding gaps between tattoos don’t interfere with the placement of the weapon. Also make sure that the shading doesn’t clash with any neighboring pieces.
Finding the Right Body Placement
Once you’ve decided how big of an opening you have, and you’ve got a general idea of how the pose and wings would fit, you can move on to body placement. Obviously, this will vary depending on the composition you choose, but here are some examples of how others have used their compositions to determine where they wanted their tattoos placed.
This studio prefers full-figure realism placements, so they often place the outer arm from shoulder to elbow, or the full back, chest, or thigh.
Linesbyblaze chose to place her design following the outer forearm’s shape.
However, each of those designs is completely different, so the actual placement is dependent on the particular design, the person’s body shape, and the existing patchwork. So be prepared to view your design from multiple angles to find the perfect spot.
If you’re still unsure of where to place your design, I recommend taking photos of the intended placement area and surrounding tattoos, then showing them to the artist so they can help you determine the best spot for your design. They’ll probably have an opinion, and might even suggest a few different options for you to consider.
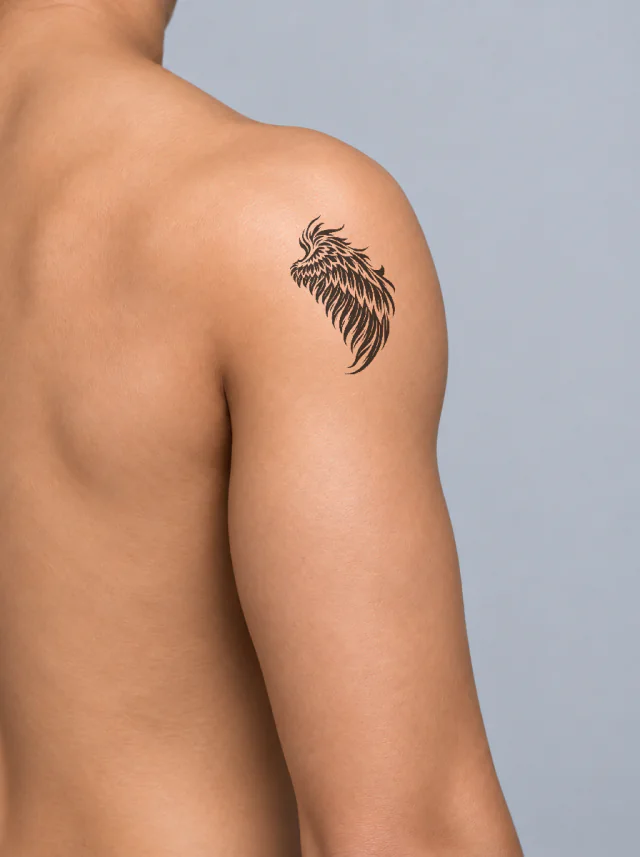
 Clean design
Assembling a Consultation Brief
Now that you’ve determined where you want to place your design, you’ll want to assemble a consultation brief. This should include references to any paintings or statues that inspired your design, as well as photos of the intended placement area and surrounding tattoos. It should also include a short list of essential motifs (e.g., wings, sword, etc.) along with the personal meaning behind the design.
After you’ve given the artist all of that information, it’s time to show them the full design and let them know if you want a full battle scene or a reduced warrior figure. You’ll also need to decide on the scale and amount of detail. Once you’ve agreed on those details, it’s time to let the artist adapt the design to your body’s curve, and then send them the design.
Comparing Healed Work
If you’re interested in seeing how a similar design turned out, here’s a caption from Cesar Perez describing his Saint Michael work as fully healed. Of course, you’ll want to compare the composition and amount of detail with your own design to get an idea of how a similar design can turn out.
Also, keep in mind that the caption describes this one as fully healed a couple of weeks after completion. That doesn’t show how it will look years later. So ask for comparable healed work and check how long after completion each example was photographed.